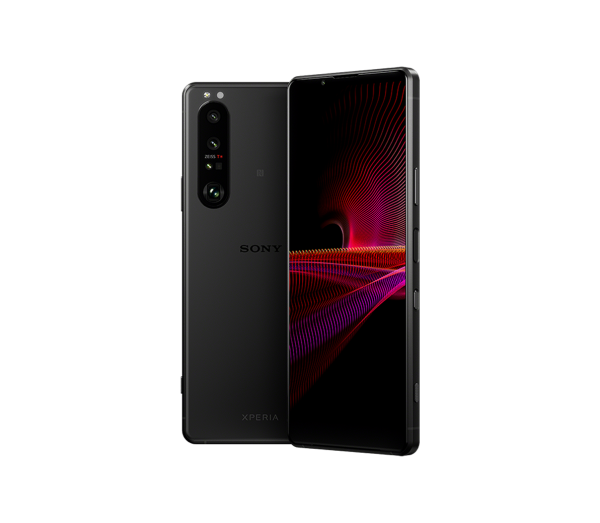
Updating a rooted Sony Xperia 1 III

If you've rooted your Xperia 1 III, you will no longer receive OTA updates. This guide will show you how to update your rooted Xperia.
NOTICE
You may potentially lose root access after updating until you reinstall Magisk.
PREREQUISITES
- XperiFirm (https://forum.xda-developers.com/t/tool-xperifirm-xperia-firmware-downloader-v5-6-2.2834142/)
- Newflasher (https://forum.xda-developers.com/t/tool-newflasher-xperia-command-line-flasher.3619426/)
- A rooted (and obviously unlocked) Xperia 1 III
STEPS
- Download and unzip the utilities listed above
- If this is your first time, run Newflasher and type
ywhen it asks if you need the GordonGate flash driver. Then, run and install the driver by runningSony_Mobile_Software_Update_Drivers_x64_Setup.msi. - Using XperiFirm, download and unpack the latest firmware for your device (e.g., the US 1 III would be
XQ-BC62underPDX-215. - After the firmware is done downloading and unpacking, move all the files inside the firmware folder into the newflasher folder.
- Power off your Xperia and plug it into your PC if you haven't already done so.
- Hold the volume down + power buttons until the notification LED turns on and stays a solid green.
- IMPORTANT OR ELSE YOUR PHONE WILL BOOTLOOP: Open the command line (e.g. run
cmd.exein start and thencd <path to Newflasher folder>) and in the Newflasher folder, runnewflasher set_active:ato set the active partition to partition A. Please do not reboot the phone after running this or the active partition may be reset. - Run
newflasher.exewhether through Explorer or CLI and follow the instructions. - When asked if you want to keep userdata, type
yor else your phone will be wiped. - If asked what you want to boot into after flashing, type
ato boot back into Android. - If asked if you want to dump anything, this is your choice. Dumping can help recover your phone if something goes horribly wrong with the flashing process, however it is optional. Please note you will have to go back to step 5 if you dump your phone.
- Wait for flashing to complete. This may takes around 5-10 minutes.
That's it! Once flashing is done, your phone should automatically boot back into Android and finish installing the update.
TROUBLESHOOTING
Q: After flashing and rebooting, my phone gets stuck in a boot loop or says the system is corrupt and will not boot.
A: This is most likely a case of you forgetting to do step #8 above. Make sure you do not reboot or unplug the phone after running newflasher set_active:a, or else the setting may be reset and you will experience this issue.
Q: When trying to run newflasher, I get an error akin to No usb device with vid
A: This means newflasher couldn't detect your phone. Please make sure it is properly plugged in, and that you've followed steps #5 and #6.
