Installing Magisk and rooting a Sony Xperia 1 III

PREREQUISITES
- An unlocked Xperia 1 III (guide coming soon)
- XperiFirm (https://forum.xda-developers.com/t/tool-xperifirm-xperia-firmware-downloader-v5-6-2.2834142/)
- UnSIN (https://forum.xda-developers.com/t/tool-unsin-sin-v3-v4-v5-unpacker-v1-13.3128106/)
- Android SDK Platform Tools (https://developer.android.com/studio/releases/platform-tools)
- Google USB Driver (https://developer.android.com/studio/run/win-usb)
- Stock ROM (may also work on 3rd-party ROMs, however I haven't tested and cannot guarantee)
STEPS
- Download and unzip the utilities listed above.
- If you haven't already, download and install the Google USB Driver from the link above.
- Using XperiFirm, download and unpack the latest firmware for your device (in my case, the US 1 III would be
XQ-BC62underPDX-215. - After the firmware is done downloading and unpacking, move the file named
boot_X-FLASH-ALL-<some numbers/letters>.sinto the UnSIN folder. - Open the command line (e.g. run
cmd.exein start and thencd <path to UnSIN folder>) and rununsin <name of the .sin file above hereto extract the boot image. For example,unsin boot_X-FLASH-ALL-4BA8.sin. - Copy the extracted image file (e.g.
boot_X-FLASH-ALL-4BA8.img) above to your phone. - Open Magisk and tap
Installin the Magisk section. Then, selectSelect and Patch a Fileas the method. - Locate the boot image from above and select it. Then tap
LET'S GO. Magisk will patch the boot image. - Copy the patched boot image from Magisk back to your PC to the
platform-toolsfolder inside the unzippedplatform-toolsfolder (e.g.platform-toolsinsideplatform-tools_r31.0.3-windows). - Power off your phone and boot it into recovery. To do this, hold Volume Down + Power until you see the Sony logo. Then, hold Volume Down until the Android Recovery menu appears.
- Navigate to
Enter Fastbootusing the Volume keys and use the Power button to enter it. Then, connect your phone to your PC. - Open a command line inside the
platform-toolsfolder you copied the patched boot image to. Then, typefastboot flash boot_a <name of the Magisk patched boot image>(For example,fastboot flash boot_a magisk_patched-23000_j4z4g.img). This should a few seconds. - After fastboot is done flashing, run
fastboot rebootin the command line to reboot back into Android.
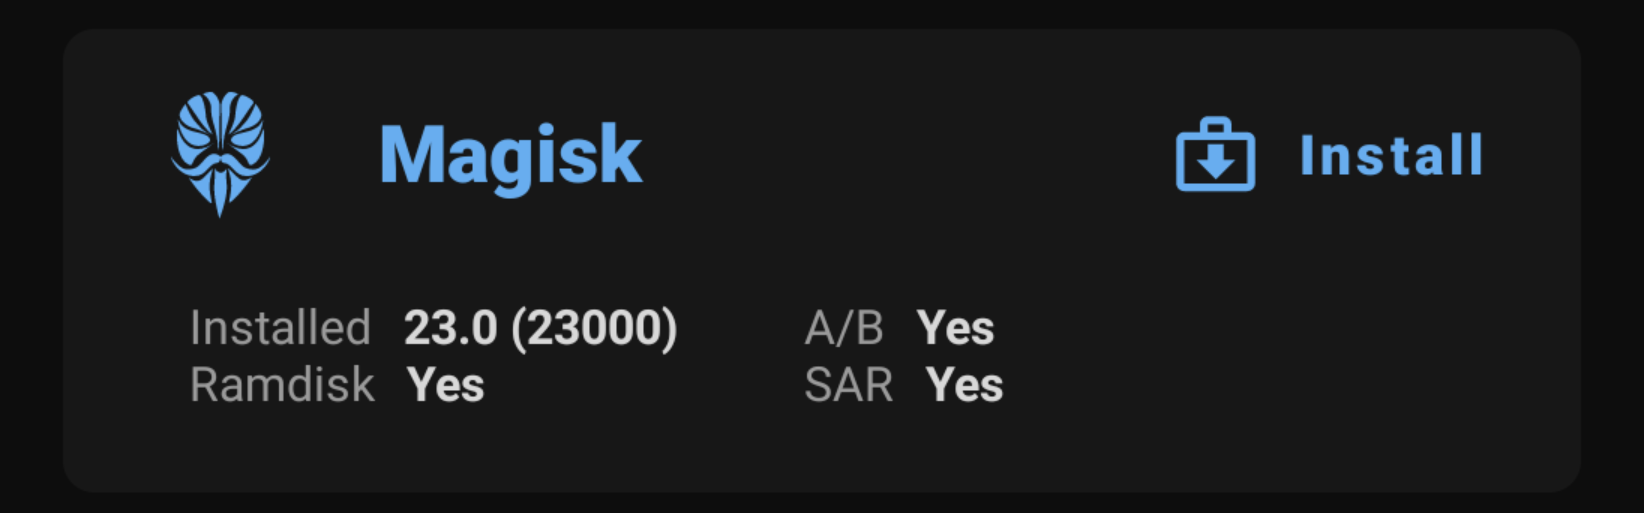
That's it! Magisk should be installed and running now! To check, open the Magisk app and it should show a version number (e.g. 23.0 (23000)) next to Installed instead of N/A.
Don't forget to enable MagiskHide in the Magisk settings to fix SafetyNet and (most) apps. I've personally had pretty good luck with the stock MagiskHide settings on stock ROM so far.