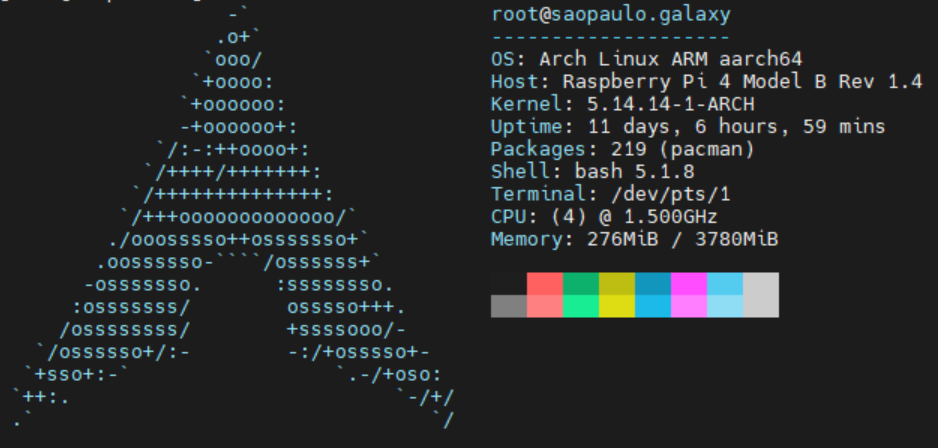
Installing 64-bit Arch Linux on a Raspberry Pi 4 Model B Rev 1.4

PREREQUISITES
- An >8GB disk (SD card, USB drive, etc.)
- A Linux machine (can be a live image) with an SD card reader if using an SD card
- A Raspberry Pi 4 Model B (only tested on revision 1.4, probably works on earlier ones too)
In the commands below, replace <disk> with your disk path (e.g., /dev/sdc). You can find your disk using fdisk -l.
STEPS
1. Boot into your Linux distro of choice and plug in your SD card
2. Open the disk in fdisk and create a new MBR table.
fdisk /dev/sdc3. Press o to create a new MBR table
4. Press n to create a new partition. Press p to select the primary partition type, and then 1 to set it as the first partition. Accept the default first sector by pressing ENTER and set the last sector to +500M.
5. Change the partition type by pressing t, then ENTER, then c to set it to FAT32.
6. Press n to create another new partition and select all the defaults by pressing ENTER at each prompt. The partition will be the second primary partition taking up the rest of the disk.
7. Press w to write the changes to the disk.
8. Create a new FAT filesystem on the boot partition (the first partition: e.g., /dev/sda1) and an EXT4 filesystem on the root partition (the second partition: e.g., /dev/sda2).
mkfs.vfat <boot partition>
mkfs.ext4 <root partition>
9. Mount the root partition to /mnt, create a boot folder at /mnt/boot, and mount the boot partition at /mnt/boot.
mount <root partition> /mnt
mkdir /mnt/boot
mount <boot patition> /mnt/boot
10. Download the latest ARM64 build of Arch ARM, extract the filesstem to the disk, and sync any buffered changes to disk.
wget http://os.archlinuxarm.org/os/ArchLinuxARM-rpi-aarch64-latest.tar.gz
bsdtar -xpf ArchLinuxARM-rpi-aarch64-latest.tar.gz -C /mnt
sync
11. Replace /mnt/boot/boot.txt with a working configuration. (From what I read and personally experienced, it looks like something was changed in later RPi 4 revisions that broke the default config).
cat << EOF > /mnt/boot/boot.txt
# After modifying, run ./mkscr

# Set root partition to the second partition of boot device
part uuid \${devtype} \${devnum}:2 uuid

setenv bootargs console=ttyS1,115200 console=tty0 root=PARTUUID=\${uuid} audit=0 rw rootwait smsc95xx.macaddr="\${usbethaddr}"

fatload \${devtype} \${devnum}:\${bootpart} \${kernel_addr_r} /Image;
fatload \${devtype} \${devnum}:\${bootpart} \${ramdisk_addr_r} /initramfs-linux.img;
booti \${kernel_addr_r} \${ramdisk_addr_r}:\${filesize} \${fdt_addr};
EOF
12. Go to /boot and run mkscr to generate a new boot image
cd /mnt/boot && ./mkscr13. Attach the disk to your RPi and boot it. After booting, login using username and password alarm. Then, type su to become root (the root password is root).
14. Initialize and populate the pacman keyring (this may take a while).
15. You're done! Enjoy your new ARM64 Arch!
On a final note, some guides I found mentioned having to replace mmcblk0 with mmcblk1 in /etc/fstab. This wasn't required in my case, but if something disk-related fails, this might fix it.
